
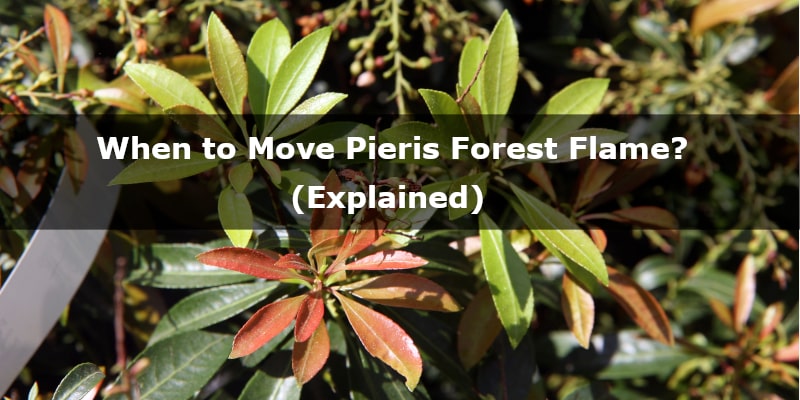
When to Move Pieris Forest Flame?
Pieris Forest Flame should be moved either in early spring, just before bud break, or early fall in late August, or early September. If you move the shrub during the season, you might kill the plant.
If you move the Pieris Forest Flame in early spring, it’s generally a good time. That’s because the shrub is still dormant, but the root is already active. The activity of the root is important because it provides the food and water essential to successful establishment and growth. Also, the ground has already thawed, which makes it easier to dig up the plant.
You can also move the Pieris Forest Flame in early, or even mid-fall. The plant has already fallen its leaves, so you can dig it up. Before you move the plant in fall, make sure that the evergreen had time to establish roots and take up water before the ground freezes.
Moving the Pieris Forest Flame in the winter is not a good idea, because the ground is frozen, and you can damage the roots. Moreover, the plant has gone into dormancy at this point to protect itself from the freezing cold temperatures. If the plant is dug up the roots will be exposed to the colder, drying air and they may snap off as well since they are intertwined with the frozen earth and are not flexible when frozen.
Moving it in late spring, or early summer isn’t also recommended, because rapid growth is emerging, and you can stunt the plant’s growth.
Where Should You Move Your Pieris Forest Flame?
Pieris Forest Flame should be transplanted into a place where it gets full sun, or partial shade. This plant grows best in acidic soil.
Before you dig up the Pieris Forest Flame, you should find the right location for the new home. Choose a location where it can get 6-8 hours, and partial shade. This plant can be planted in each direction, except north-facing.
A really important thing is planting the Pieris Forest Flame in a sheltered place, where it can be protected from the wind. Not only because this shrub doesn’t like wind gusts, but also because the newly transplanted plant needs to recover duly.
Also, the Pieris Forest Flame is demanding when it comes to soil pH. It thrives in moist, well-drained, acidic soil where the pH level is 5.0-6.0. You can check the soil pH level with this tool on Amazon.
How to Replant a Pieris Forest Flame to a New Place?
In order to replant a Pieris Forest Flame, you need to first prune the roots, then dig up the plant, and then transplant it to a new location.
Root Pruning
Before you replant the Pieris Forest Flame, you need to do root pruning. It’s important, because if you don’t do it, the plant may die from transplant shock.
If you intend to transplant the plant in spring, you should prune the roots somewhere in October. If you move the Pieris Forest Flame in fall, root prune in March. That way you keep most of the roots within a small area, and roots within the pruned area grow many branches and form a strong root system.
Before pruning, it’s recommended to tie up the branches of bushy plants to help avoid injury and keep them out of your way. You can use a heave twine. Attach the twine to a branch at the base of the plant, wind it around the plant to the top and tie it in a loop.
To do root pruning, mark a circle the size of the desired ball around the shrub. Then dig a trench just outside the circle. The circle should be around 16 inches (40 cm) in diameter, and you should dig at least 12 inches (30 cm) deep, preferably 2-3 inches (5-7 cm) deeper, depending on the size of the shrub. Then separate the topsoil and subsoil, and water the area to settle the disturbed soil. Now untie branches after root pruning.
Digging
It’s time to dig. First, estimate the width and depth of the root ball (roots plus soil) by doing a bit of exploratory digging around the plant. The width of the new hole should be twice that of the plant’s root ball. You can keep the hole’s depth a bit shallower than the root ball to avoid puddling and rotting.
Now you can dig your new hole before you dig up the shrub. It’s important to move the plant to its new location as soon as possible after you dig it up. The longer the roots remain exposed, the more stress that’s put on the plant. When you reach the bottom of the new hole, don’t break up the soil at the bottom. It might cause the shrub to sink, inviting rot.
Now dig roughly 3 feet (1 meter) out around the perimeter of the Pieris Forest Flame. Get a feel for where the central mass of roots lies to keep as much of the root ball intact as possible. Once you have removed enough soil from around the sides of the plant, you will be able to slip your shovel under it and begin to loosen the plant’s grip on the soil below it. After it is loose, spread a tarp on the ground nearby, and gently move the plant onto the tarp.
Planting
Using the tarp as a sled (if you don’t have one, you can buy it on Amazon), drag the plant to the new hole. Gently slide it into the hole, and adjust it so it’s upright. The plant should be at the same level as it was in its old location. Shovel the excavated soil back into the hole. Firmly tamp down the soil and water as you go to eliminate air pockets, which can cause the plant to shift. Then mound the soil in a ring around the plant, forming a small ditch to catch water.
How to Care for a Pieris Forest Flame After Moving?
After moving the Pieris Forest Flame, make sure to water the plant frequently, and deeply, and provide a layer of landscape mulch.
Watering is crucial for a newly replanted plant. Usually, a Pieris Forest Flame needs to be watered about once per week. However, the replanted plant needs more water. In the first 2 months after transplantation, water the plant deeply twice a week, putting emphasis on the root ball. Don’t let it sit in the puddle. Too little, or too much water might kill the Pieris Forest Flame.
You should also remember about mulch that conserves moisture in the soil, moderates temperature extremes, and reduces weeds. Therefore, place about 3 inches (7 cm) of mulch over the soil, pulling it away from the trunk of the plant.
Sources
gardenguides.com, ncagr.gov, torontomastergardeners.ca, groundworkslandscaping.com, hgic.clemson.edu, thespruce.com